
When Will Then Be Now?
Alright now that I've filled in my pictures of the project's start and last weeks progress we can emerge from the time-stream (hopefully without the former governor of California naked one-knee kneeling in a coruscating blue globe of energy) in the present with a picture of this week's painting. I want to get an update in tonight since the main Dreadtober site updates with all the hobby progress on Fridays.

The back of the dreadnought features my most extensive green stuff work so far. I'm not sure if it was missing more than arms when I bought it in or if it's the cast of the original model, but the back was flat, with a recessed rectangle in the middle. It was necessary to use a large amount of green stuff, first to level the back surface, then to make a solid triangle that I attached some short exhaust pipes from a random bag of Ravenwing bitz. The look still wasn't quite right and after looking at lots of pictures of dreads it seemed like pipes leading to the exhaust unit from the body might be the answer.
I rolled the green stuff into cylinders and then bent them into the space between the exhaust and body of the dread. The green stuff was so malleable that the perfect cylinders got pretty distorted as I fixed them into place. Fortunately I ordered some sculpting tools last Christmas and with some gentle poking and smoothing I managed to get them back into the shape that was close to cylindrical pipes. Now that they are painted and shaded, they look a little rough but my head canon has to imagine that the techmarine servo-claw does not do fine metalwork on the battlefield. I had turned to much green stuff into putty but I used the excess to attach the genestealer skulls to the base. Then I covered up the exposed dried green stuff around the skulls with some Astrogranite to blend it into the base.
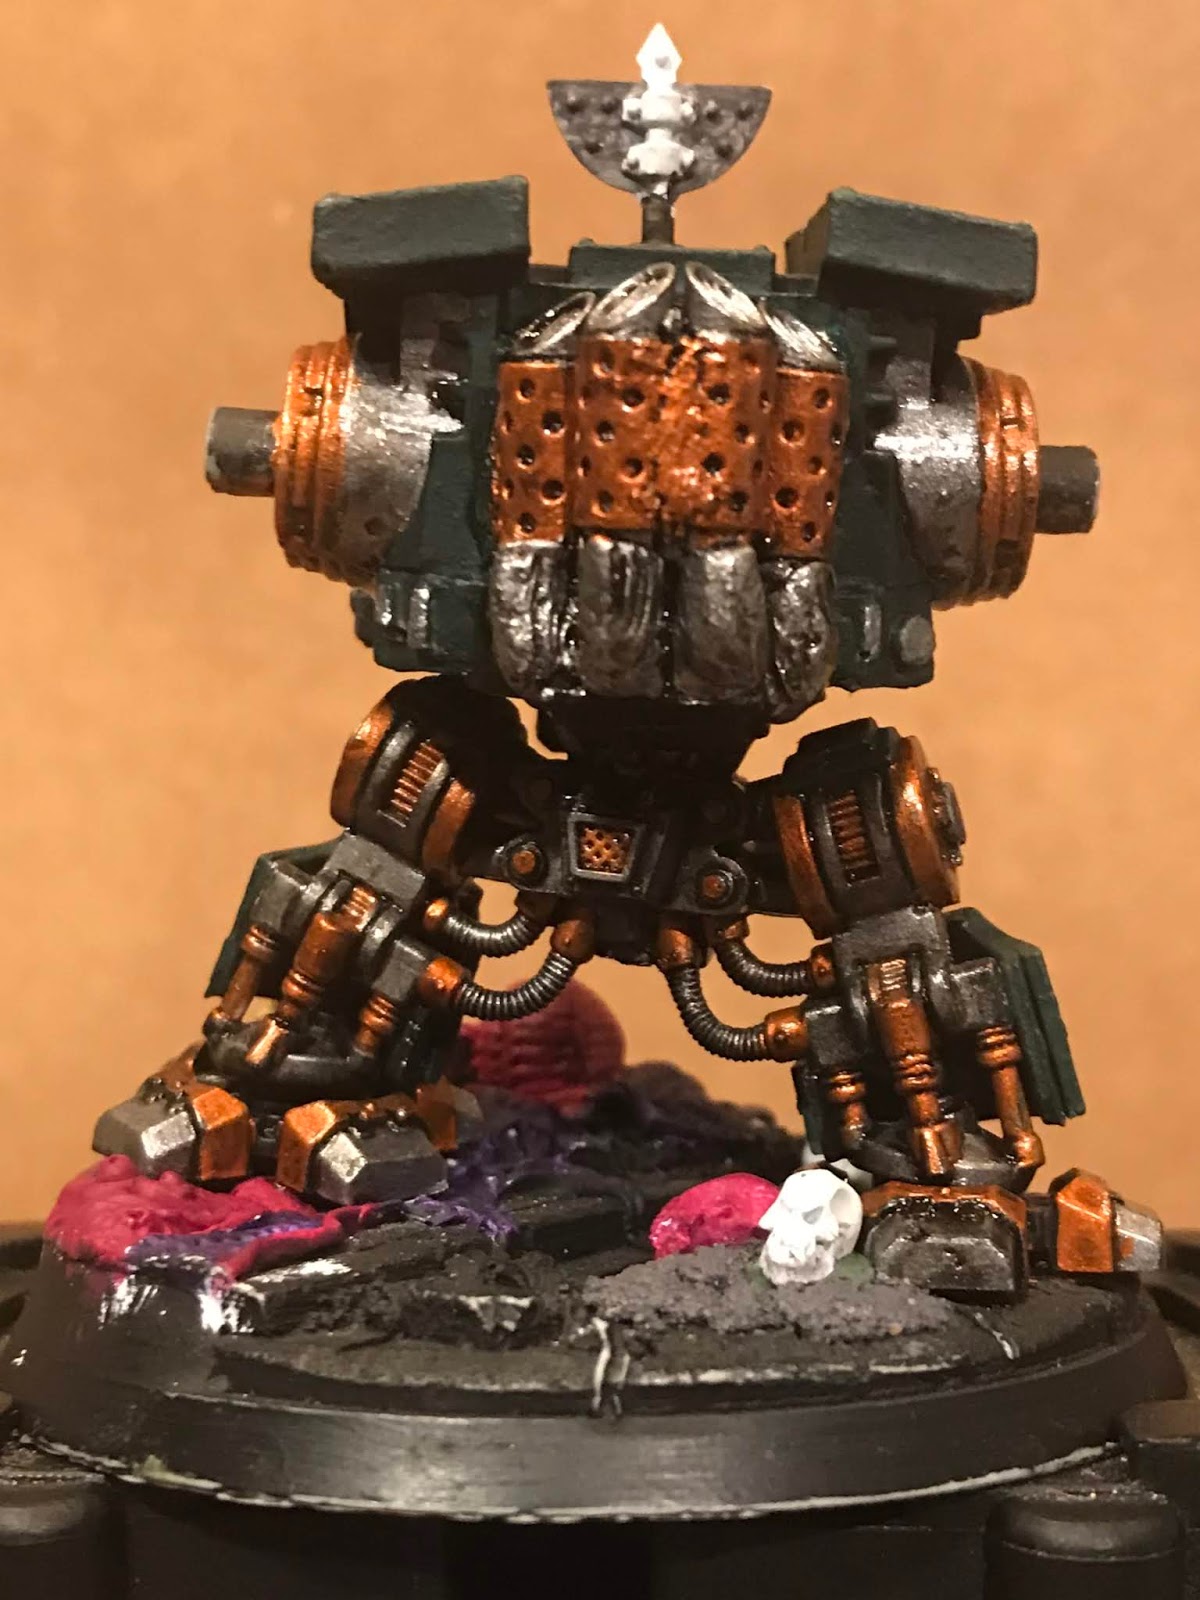
One last note on the back of the dread. I used to be intimidated by the amount of exposed metal parts on the back and legs of a dreadnought. I think the current GW painting guides suggest a Leadbelcher all over, shaded with Nuln Oil, and then highlighted with Stormhost Silver. That certainly leads to a fast and easy way to cover large detailed metal areas but it is too uniform for me. I lucked into the bronze-brass range of GW metallic paints at a closeout sale at a hobby store and that gave me a different color to contrast against all the various parts that get painted Leadbelcher. If I'm smart I start in the middle of a large area of exposed metal parts and I alternate Leadbelcher and Screaming Bell, whenever a new distinct metal piece starts. It's not going to win any competitions, but once I shade and highlight the areas it gives me a result that I'm happy with that's not just one big shiny and dark silver area. I managed to get Nuln Oil gloss on before these pictures. This is the first time I've used it and I especially like the way it looks over metallic paints.

Still dryfitting to work on a pose for the arms, I think I'm close to settling on a assault cannon at a slightly raised rest, power fist straight extended look. I have a long pennant I want to hang from the back of the assault cannon arm and I think that could look good hanging down while arm is pointed up at a 45 degree angle. Visually I'm thinking a knight with a lance at an angle with pennants hanging from it, which fits well with the knightly origins of the first legion.
No comments:
Post a Comment