40K 2nd Edition Battle Report!!!!
 |
| Next on the list of projects: a bed sheet sized matte painiting to hangup behind the table on game days for better looking game photos. |
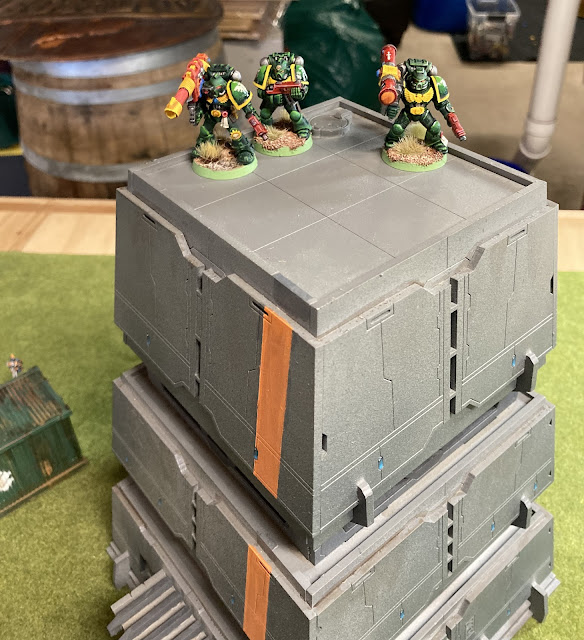
The Wachtmeister and I had a chance recently to play a game with all the forces we had painted for the first two rounds of the 40K2ndAC. We both wrote up a report on the battle, with the Wachtmeisters report being slightly more chronological and mine is a little more after game analysis. I will switch back and forth with our relevant paragraphs and intersperse with a few photos taken mid game. The Wachtmeister is a much better photographer than me so be sure to click on his name and check out the report on his blog for a lot of great pictures.
Follow along after the jump for the first half of the action, then tune in later this week for the thrilling conclusion...
The Wachtmeister (WM): My buddy Floyd over at 1st Legion Chronicles suggested we play a 2,000 point battle using the forces we painted for Season One and Season Two of the 2nd Edition Army Challenge over on Dr. The Viking's Cowabunga blog. We've now played a few games and have a decent handle on the rules so we figured we could get this done in the time we had. When Floyd sent me his list it was 2,390 points. (He wanted to teleport his Terminators and Librarian into battle brought the cost of his list up from the 2,093 without the upgrade. This was his birthday battle so he could make up whatever wonky points value he wanted!)
Floyd Lawton (FL): Since my Deathwing Terminators and Librarian had to increase their cost by 50% in order to teleport onto the board, I told my opponent to include in his army the extra units he painted in bonus rounds of the challenge. Playing a massive 2,400 point game of 2nd was glorious and felt straight out of an old White Dwarf issue. Using the optional mission rules and the strategy cards added a lot of flavour to the game, giving each army a goal to plan around and a few tricks up their sleeves to get across the finish line victorious. I got Hold the Line and the Wachtmeister drew Dawn Raid, two missions that really complimented each other to form a thrilling narrative. The Catachan guard army would drive fast across the board in an attempt to get into the Dark Angels deployment zone, while the space marines would trade their lives to hold the guardsmen back from crossing into the Dark Angels half of the battlefield.
WM: We randomly selected missions and stratagems before the game. I rolled Dawn Raid and Floyd rolled Hold the Line. These two missions ended up complementing each other as in Dawn Raid I needed to get either an unbroken squad, or undamaged vehicle in Floyd’s deployment zone and in Hold the Line Floyd needed to keep my units off his half of the table. This meant I really needed to be on the offensive, while Floyd needed to focus on defending his half of the table. While I wasn’t looking forward to advancing my infantry into his guns my armor would give me mobility and speed. Rolling for stratagems I received an unlooked for boon in the form of the Forced March stratagem. This allowed me to deploy my troops up to 18” on the board instead of only 12”. The built in downside to this card is troops set up between 12” and 18” needed to be set up before the other players troops, regardless of Strategy Rating but as I was a 2 and Space Marines are a 5 I was setting up first anyway! The guard rolled a 5+ for the interference level on the battlefield, which meant they would need to roll a 5+ to bring on any subsequent barrages beyond the preliminary barrage.
FL: The strategy cards made a difference from the jump, my opponent used his Flank March card to start his forces eighteen inches onto the board instead of twelve. The victory points offered by my mission card of Hold the Line was looking precarious at that point since the guard managed to cover three quarters of the distance to the center line before the game even started.
WM: I planned on deploying the bulk of my troops to the flanks. My left flank had the Hellhound and an infantry squad, while the right flank had the Leman Russ, the Devastator, an infantry squad and the command squads. The lascannons, the Basilisk, and another infantry squad held the middle while the ratlings took an over watch position in the back. My Legion of the Damned stayed off board, ready to teleport in where they could me the most help. During set up Floyd strung his troops out through his deployment zone so he could react to my movements. He set one of his Devastator combat squads on top of the tall central building for a superior vantage point and left his Terminators off board, ready to teleport into action where they were most needed.
WM: With set up done it was time for the big guns of the imperial guard to open up with their preliminary bombardment. With the anti-tank power of the Devastators lording over the field in plain view of the spotters the barrage targets were pretty much pre-determined. One of the three barrages landed directly on the building with the other two barrages drifting to land on the tightly packed troops standing behind the building. The barrage knocked out the Heavy Bolter and two other Marines. Things could have been bloodier but one Marines saved on a 6 and the missile launcher was saved by the timely use of the “Saved” card! First blood to the Catachans!
WM: With the preliminaries done it was time to begin the game proper and roll off for the first turn. When the dice stopped bouncing I had come up with a six and Floyd had a one! Floyd groaned knowing his Devastator’s clear fire lane was going to quickly work against them once the guns of the guard opened up. Between getting the Forced March card, Dawn Raid, and the first turn it was clear the guard were no longer being lulled into a false sense of security by the Dark Angels like they were in previous encounters!

FL: Deploying second, I took a big gamble placing my Devastator combat squad containing the lascannon and missile launcher on top of the three story tower. I knew those marines wouldn't last long in such an exposed position but considering I had at least a 75% chance of getting the first turn, I hoped they could trade their lives for eliminating at least one of the guard vehicles facing down my battleline (there were four!). Unfortunately a very unlikely roll would lead to the Wachtmeister going first and raining down hellfire on the marines on top of the tower. When the smoke cleared from the ionized air, none of my marines were left standing and the lascannon and missile launcher were out of the game before I took a turn.
WM: Imperial Guard – Turn 1
The Imperial Guard launch a general advance with the flankers moving further to their respective flanks in a classic pincer move. The Legion of the Damned teleported onto the board aiming for the Dark Angels left flank, they scattered off target giving them a further walk into combat than they planned but they were definitely still in the fight! Knowing the heavy weapons of the Devastator squad presented the greatest risk, the entire Guard army opened up on the combat squad on the roof, knocking out both their heavy weapons. The remaining marines of the squad failed their leadership test showing while they know no fear even Space Marines weren’t immune to the effects of an entire Imperial Guard army's guns falling on their unprotected position!

WM: Dark Angels – Turn 1
The Dark Angels conducted a general advance towards the Catachans positions. The scouts ran up the middle of the board and the Terminators along with their Librarian attempted to teleport behind the lascannons in the center of the Guard position. They deviated slightly and ended up standing directly in front of the lascannons instead. This could have been really bad for the Deathwing but once their storm bolters and the assault cannon fell quiet the lascannons had been eliminated having only fired one long range shot at a combat squad in the back field. Having learned to fear mortars from previous encountered Floyd had the Librarian use his psychic power Teleport to charge the mortars in the back of the guard line.
FL: After this devastating (pun intended) blow to my forces, I knew I would need a bold stroke on the first turn in order to grab back the initiative. I went for the boldest stroke in any Dark Angels army, teleporting Deathwing Terminators, juiced even further by the presence of an Epistolary Librarian in Terminator armor. The Deathwing Terminators were far and away the most valuable unit in my army, inflicting the majority of the casualties I caused in the game. On the first turn when they teleported in, they wiped out a lascannon battery as the neutrino particles
from their sudden materialization were still crackling in the air. Adding to the chaos sown in the Guard's firing line, during the psychic phase Librarian Azathor use his psychic power of teleportation to charge into the middle of the mortar section that had given me a lot of trouble in my first match up against the Catachans.
WM: Imperial Guard – Turn 2
The Guardsmen continued their drive towards the Dark Angels position in an attempt to complete their raid. This turn the Deathwing really proved why they have their fearsome reputation as they shrugged off all the shots from the Basilisk, two barrages, and the infantry squads support weapons. The Leman Russ killed three marines from a combat squad on the right flank, while the Legion of the Damned shot down a marine from the Devastator combat squad. On the left flank the Hellhound killed a marine from a combat squad.
FL: Another huge asset gained from the Terminators' deployment was they also soaked up a full turns worth of firing from everything in the Guard army that could see them on the 2nd Guard turn of the game and managed to escape unharmed. Charging into the enemy on my turn two, they eventually wiped out a squad of guardsmen in close combat. However this took 4 rounds of melee combat over two turns which in retrospect I think was a misuse of their talents. With the guard squad first having to lose 5 models to take a break test, and then passing the subsequent tests after that point, there was no quick way to wipe out the unit and move on to more targets. 2nd edition's lack of "pile in" moves or sweeping advances meant those guardsmen were able to sell their lives dearly to tarpit my Terminators for the critical 3rd and 4th turns. Choosing to shoot with my Terminators instead of charging the first unit that came into range is one of the choices I think I could have made differently to have a better chance of coming out ahead. Keeping them out of close combat also would have attracted a ton of fire that wouldn't have been able to eliminate my tactical squads in the second half of the game.
WM: Dark Angels – Turn 2
The Dark Angels killed a few guardsmen with a smattering of small arms fire and redeploy some of their forces to meet the threat of the advancing guardsmen. The Deathwing charged into the infantry squad lurking behind them. In close combat the Librarian killed off a mortar squad, while the Terminators killed two guardsmen. The warp was still and there was no psychic phase as Floyd didn’t draw any warp cards to cast with!
That's it for the first two turns, tune in in two days to find out what happened next! Thanks for reading.


Fantastic!!! Looking forward to the sequel
ReplyDeleteThanks Dr TV, it only took me 4 months to post the sequel but it's up now!
Delete